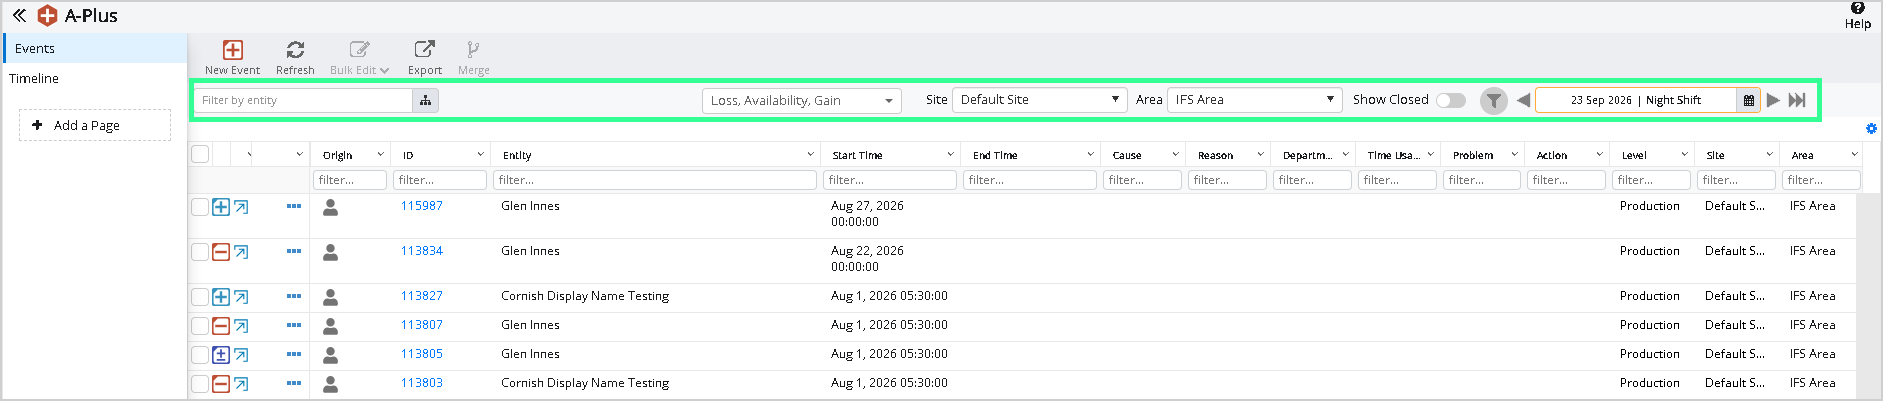
The Filter Bar filters the events shown in the entries table and the timeline, enabling you to filter the events by entity, event type, site and area, and by applying a customised time period.
Filter Bar Options
The Filter Bar provides several options for filtering and viewing events.
 |
Entity | Select an entity (piece of equipment) by:
|
|
|
Event Type | Select from:
|
|
|
Site | Select to show the events for a particular site. |
|
|
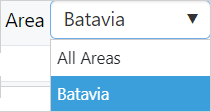
Area | Select to show the events for a particular area. |
|
|
Filter Events |
Configurable filters can be created and applied to events. |
|
|
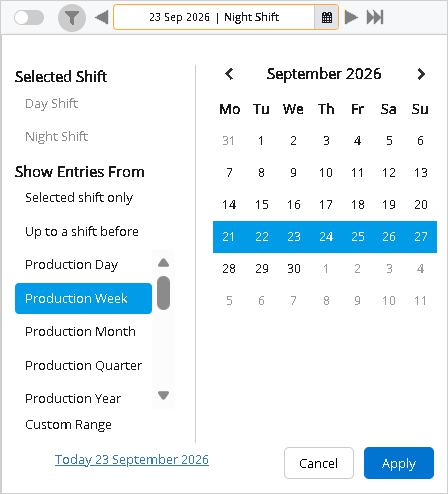
Shift Picker |
Click on the the shift picker to select from a range of pre-defined dates, or to choose a custom date range.
|
 button to navigate through the hierarchy levels to find the desired entity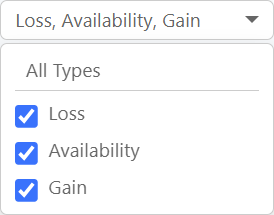
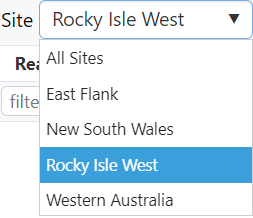

Note: Select a Site and Area in the Filter Bar to active the New Event button.
Filter Events
Click the Filter Button  in the Filter Bar to open the Filter Events dialog.
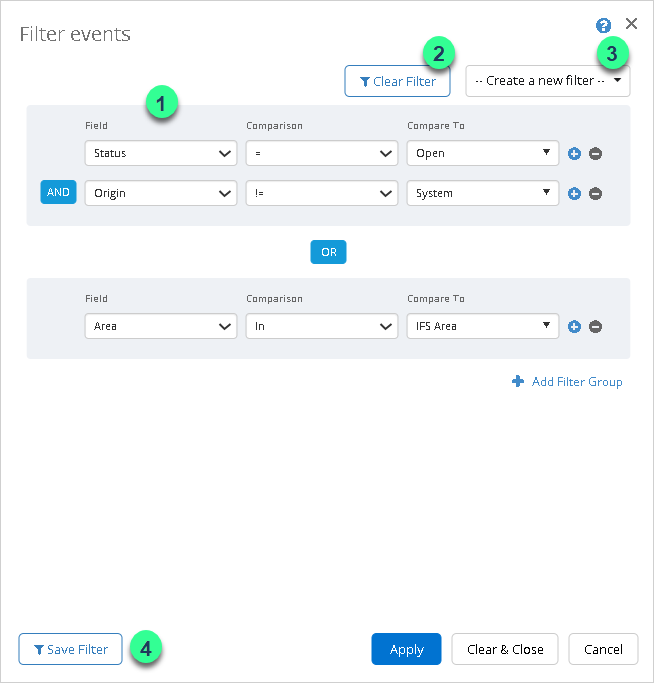
Here is what you can do with the filtering options:
1. Create a new filter and apply it.
2. Reset the filter criteria by clicking Clear Filter. This does not affect saved filters.
3. Apply a previously saved filter by selecting it from the drop-down list.
4. Save a filter for future use by clicking Save Filter.
To define a filter, select a field, choose the comparison type, and specify the value that the field must match.
Filter criteria can be organised into Filter Groups. Within a Filter Group, all criteria must be met for the filter to return an event (a logical AND operation).
Multiple Filter Groups can be defined. The Filter Groups themselves act as a logical OR operation, meaning an event is returned if it matches any one of the defined Filter Groups.
Saved filters can be reused whenever you need to apply the same filtering criteria again. Filters can also be deleted by clicking the Delete icon next to the filter name in the saved filters list.